| Chapter 1. Overview | ||
|---|---|---|
 |  | |
| Chapter 1. Overview | ||
|---|---|---|
| | | |
This installation manual shows the steps to install the software tools required to work with the ZIO,Motherboard. Separate instructions are available for GNU/Linux and Windows.
The ZIO motherboard is accessed through a USB serial interface.
For GNU/Linux ZIO USB serial driver is available in kernel since version 2.6.34.
For Windows we need update USB driver for ZIO motherboard.
ZIO API is written by using Java and Python prgraming languages.
ZIO is a IO framework for rapid product development. And as such it comes along with an API that can be used to access the IO interfaces provided by the board.
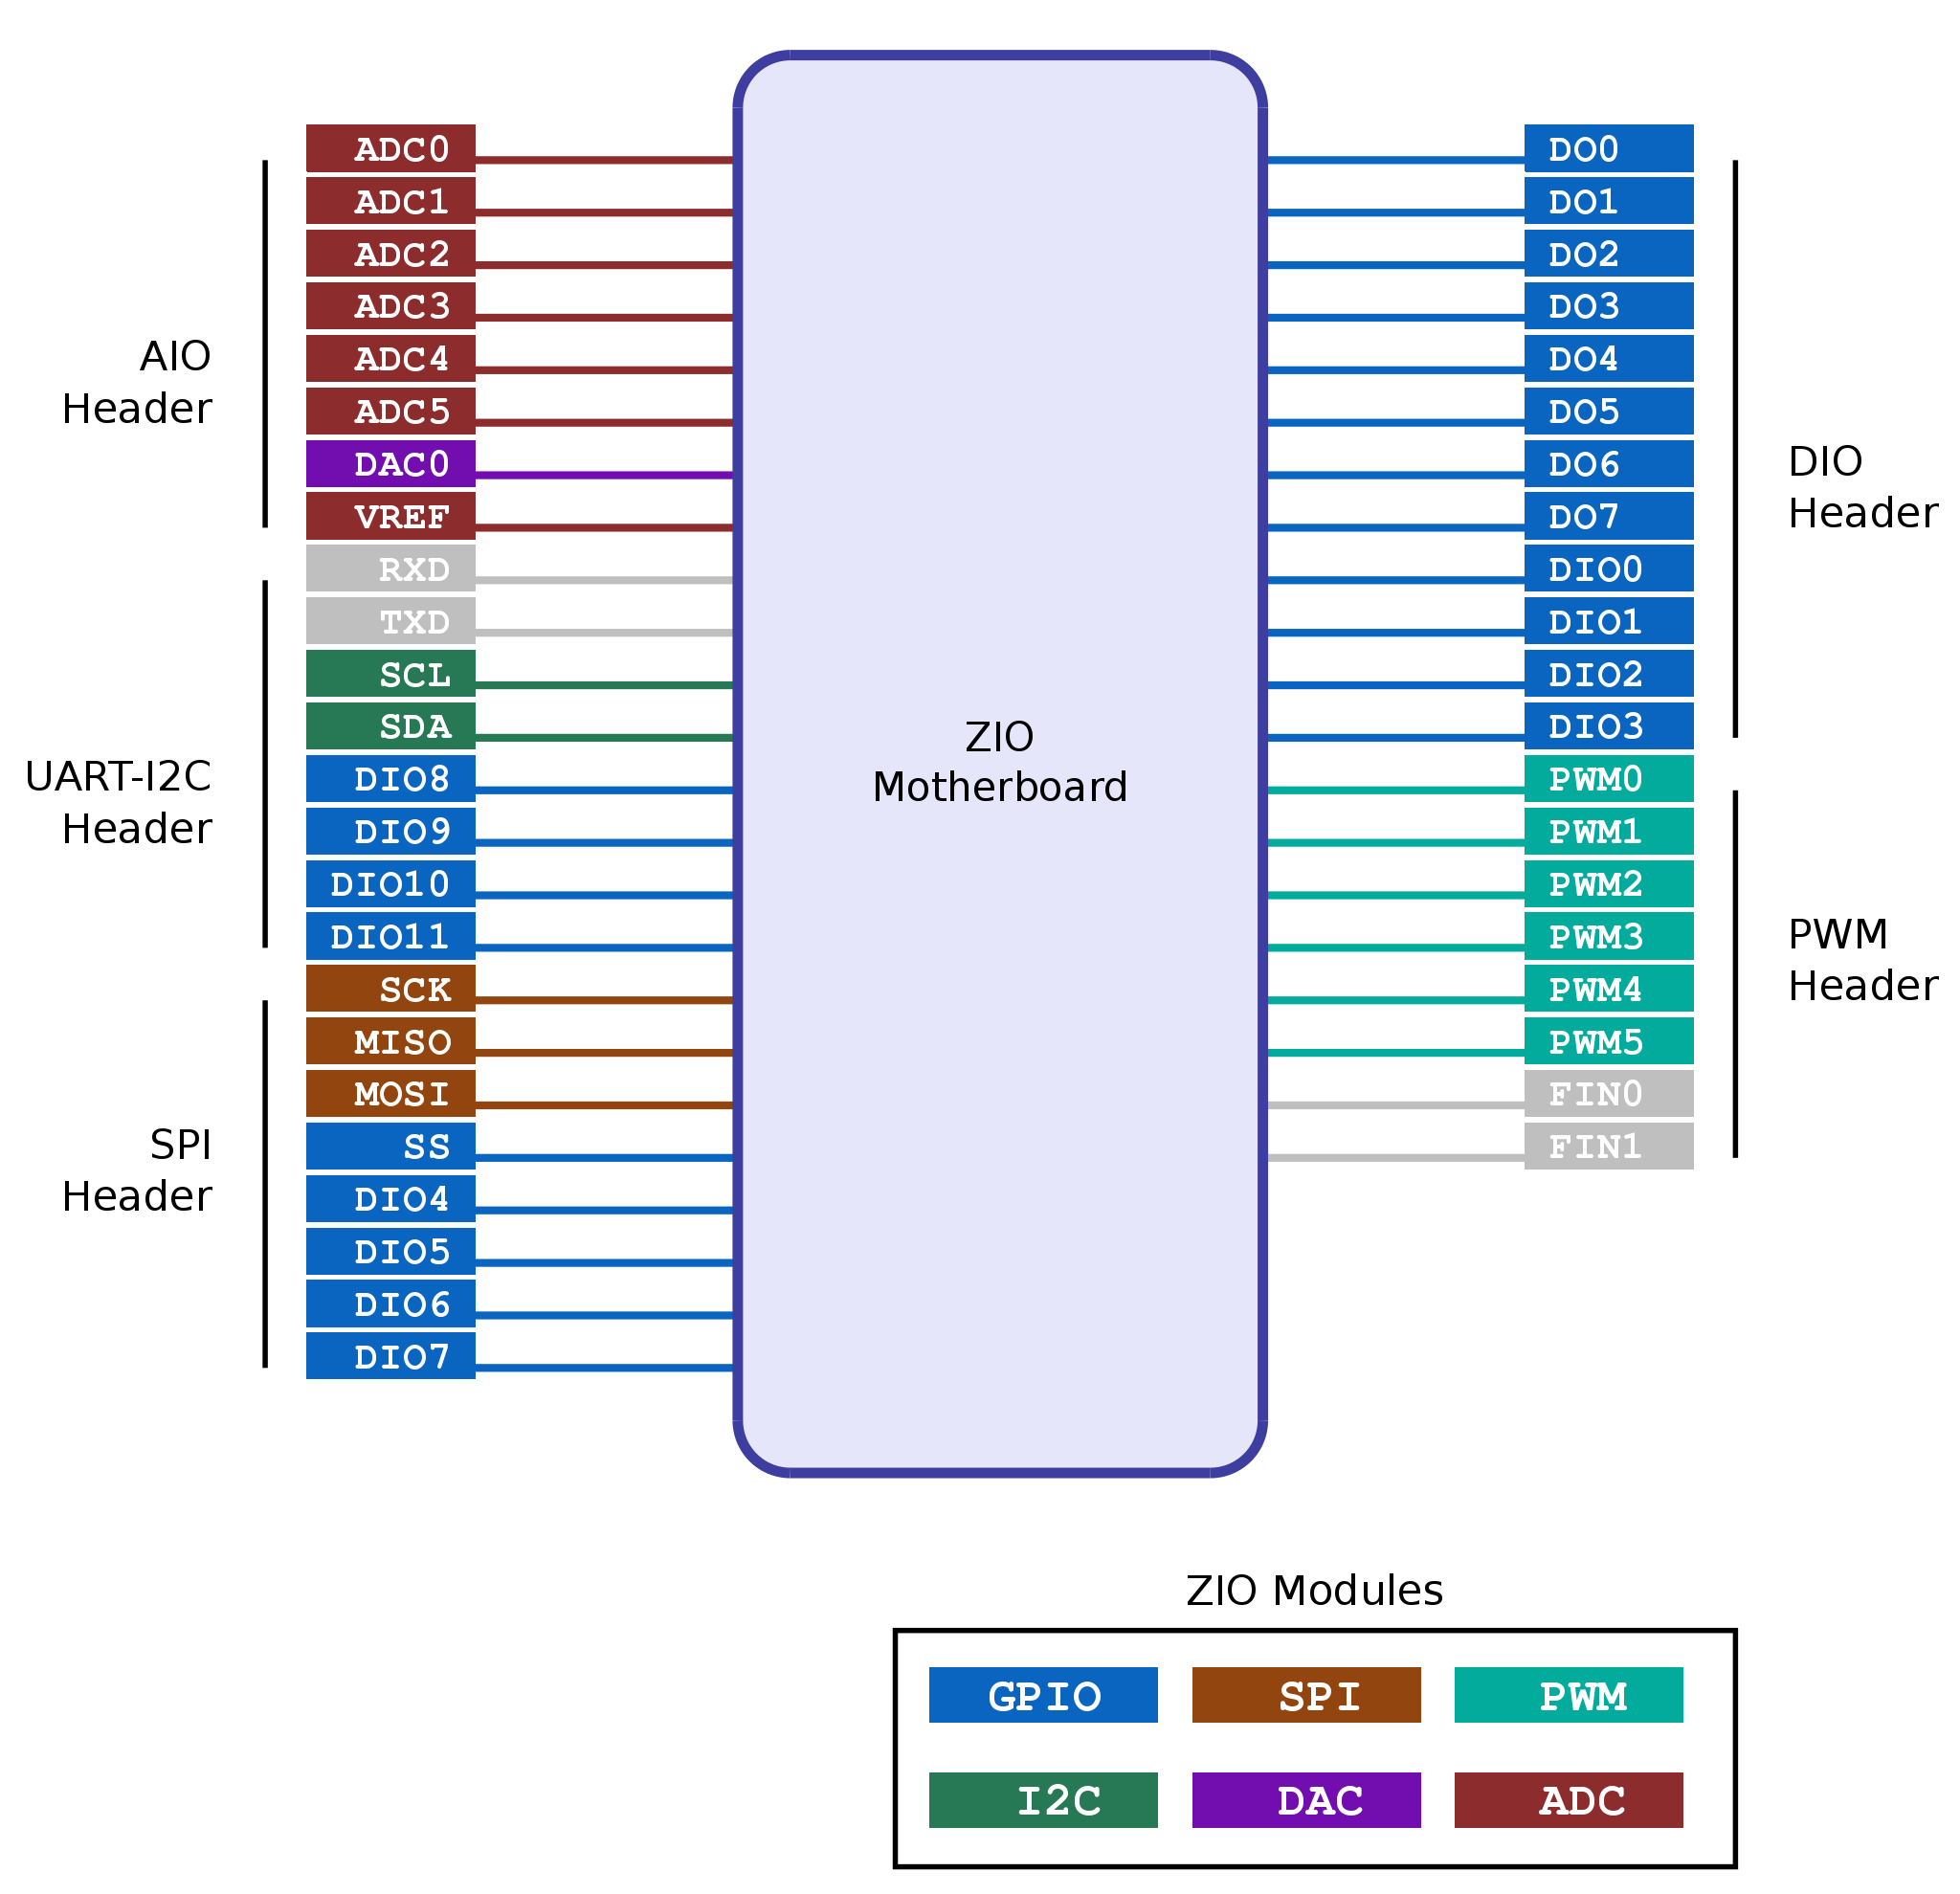
The ZIO motherboard has 6 modules: GPIO, I2C, ADC, DAC, PWM and SPI. Each module is in charge
of a set of signals associated with the module. The modules and their associated signals is shown in
the following diagram.
These modules on the motherboard are accessed through an agent software running on the motherboard. The API communicates with the agent and performs actions on the modules. Each module is handled by a separate object class in the API.
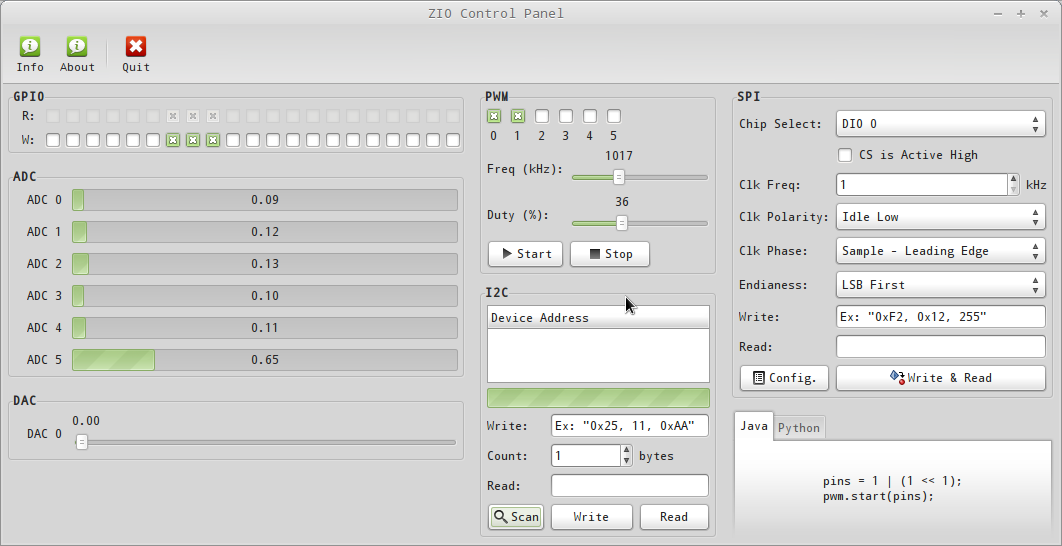
The ZIO Control Panel is a GUI application that allows most features of ZIO to be tested without writing code.
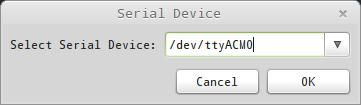
When the control panel is started, the application prompts for the serial device name of the ZIO motherboard, as show in Figure 1.2, “Serial Device Input”, “Serial Device Input”. Select the serial device and click on OK. The control panel window as shown in Figure 1.3, “Control Panel Screenshot”, “Control Panel Screenshot” is displayed. The control panel has multiple sub-panels, one for each module.
| | | |
| ZIO, Motherboard |  | 2. Conventions |